Have You Tried: Views with Names
A view consists of a specific magnification, location, and orientation that you can save and assign a name. This makes it easy to return to a specific view of the drawing at any time. A named view can also save a snapshot of the current layer visibility settings; this is similar to saving a layer state.
Create a Named View
You can use one of your own drawings to try this. Make sure you have some objects and a few layers in the drawing. Or you can use the sample file, Floor Plan Sample.DWG, which is shown in the following sections.
- Make sure you are in model space.
- Zoom to the area of the drawing you want to save as a named view.
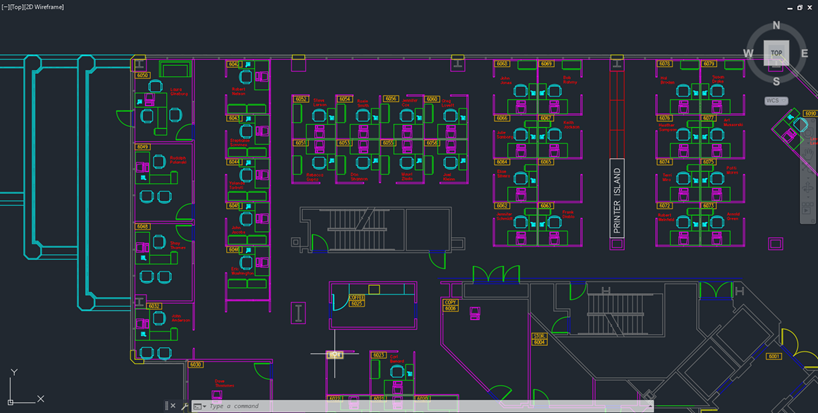
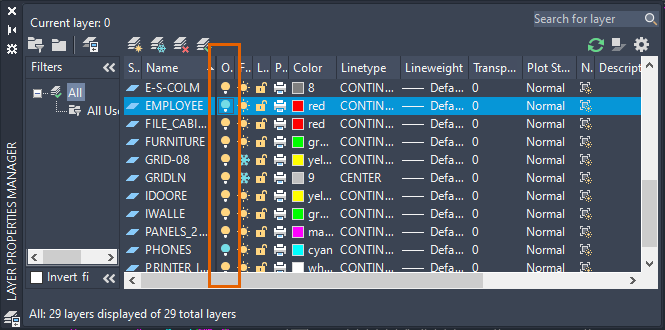
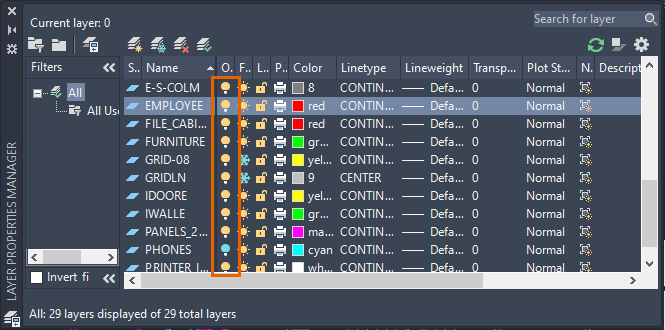
- Set the visibility of the layers as you want them to be stored with the named view. In this example, I turned off the layers EMPLOYEE and PHONES.
- Click .
The New View/Shot Properties dialog box opens.
Note: For AutoCAD LT, the New View dialog box opens. The options used are the same. - Enter a name for the view.
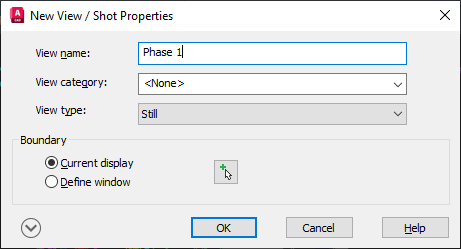
Since I zoomed in to the area, I will keep Current Display selected, but you can click Define Window to temporarily dismiss the dialog box and define an area.
- Expand the dialog box and make sure that Save Layer Snapshot with View is selected.
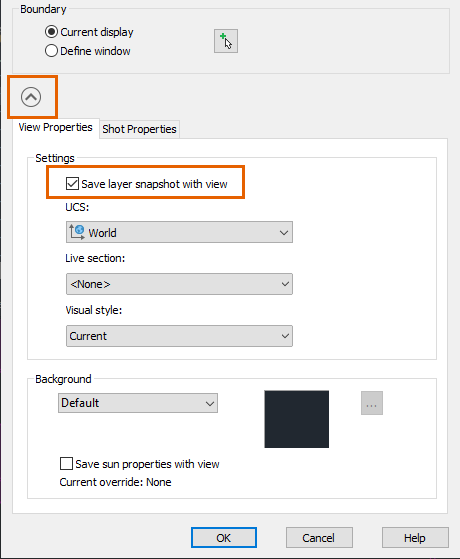
This option saves and restores layer visibility settings with the named view. Layer visibility settings saved as part of the named view include the current On/Off and Thaw/Freeze settings but not the Locked/Unlocked settings.
- Click OK.
Restore a Named View
So that you can tell it really is restoring the view and the layer visibility settings, zoom to the extents of the drawing and turn on all layers before restoring the view. Do one of the following to restore the view:
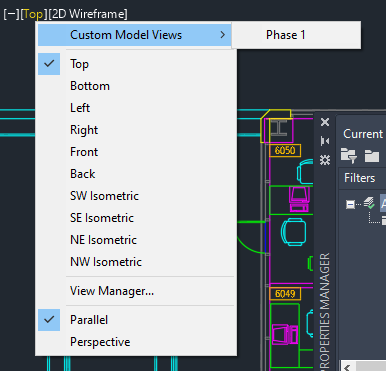
- On the Viewport controls, View Controls drop-down list, choose Custom Model Views > view name. (AutoCAD only)
- Click .
- Click .
Select the view name, click Set Current, and click OK.

Update the Named View's Layer Visibility Settings
When you restore a named view, it can also restore layer visibility settings. This option is selected during the creation of the named view. But maybe you've added layers or want to change the visibility of some of the layers saved with the named view. Follow these steps to change the visibility of the layers saved with a named view.
- Restore the view that you want to change its assigned layer visibility settings.
- Click .
- Change just the layers that are different from the named view's settings, turning layers on or off, and freezing or thawing layers. In this example, I turned the layer EMPLOYEE back on.
 Note: The named view doesn't include the Locked/Unlocked setting.
 - Click .
- Select the view name to update.
- Click Update Layers.
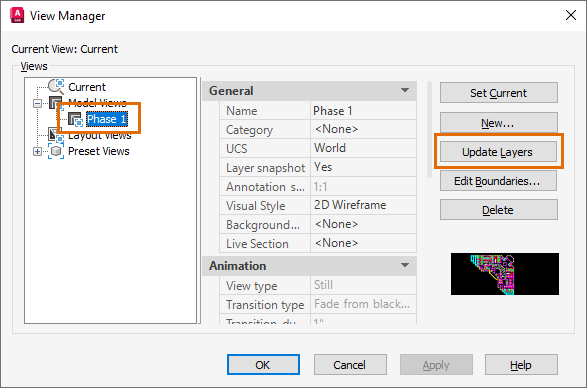
The current layer visibility settings are now associated with the named view and are restored when the named view is set current.
Hyperlink to a Named View
Once you've created a named view, you can use a hyperlink that can open and display the named view even from another drawing. A key plan is an example where this might be useful.
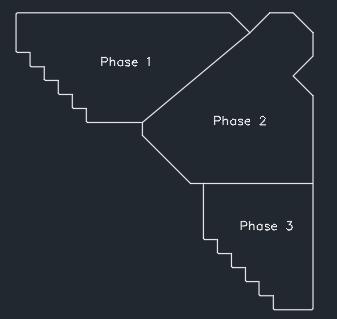
For this example, I created a basic outline of my floor plan and separated it into three areas and added a multiline text object in each area. I'll add the hyperlink to the multiline text.
You can try this with any object and hyperlink to the named view created previously.
- Click .
- Select the object for the hyperlink. In my example, I selected the Phase 1 multiline text object.
- In the Insert Hyperlink dialog box, under Link To, click View of This Drawing.
- Expand the Model node to see your view.
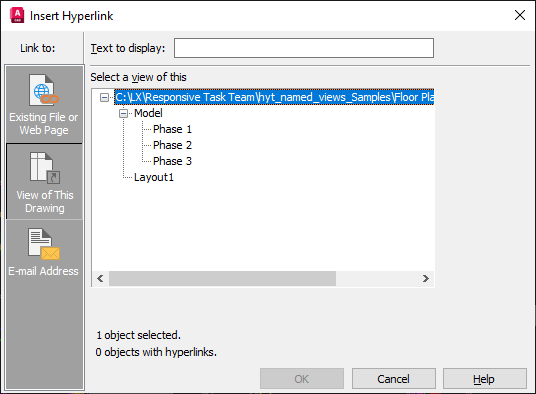
- Select the view you want to link to.
- Click OK.
- To try the hyperlink, move your cursor over the object you added the hyperlink to, and Ctrl+click.
To learn more about using hyperlinks in drawings, including using a hyperlink to a named view in a separate drawing.
Insert a Named View in a Layout
Once you've added a named view in model space, you can use that to create a viewport on a layout.
- Switch to the layout where you want to create the viewport. Or create a layout.
- Delete any viewports you don't want.
- Click the Layout tab on the ribbon if it isn't already active.

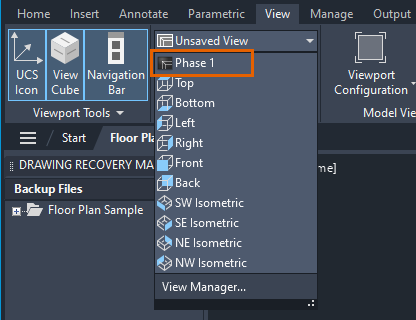
- Click the Insert View drop-down menu on the Layout Viewports panel.
You'll see thumbnail images for the named views in the drawing.

- Select a view and place it on the layout to create the viewport.

0 Comments